Meta Segment Anything Model에 PyQt GUI 적용하기
개요
최근 심화반수업을 수강하는 학원생분을 통해 Meta AI(과거 Facebook) 에서 발표한 SAM (Segment Anything Model) 이라는 기술을 알게되었습니다.
아래 웹사이트 링크에서 데모를 실행해 볼 수 있습니다.
잠깐 살펴본 바로는 이미지(정지영상, 실시간 모두)내부 특정 사물을 분류하는 기술입니다.
Meta 예제를 활용해 Python으로 GUI를 추가해 보았습니다.

|
|
| [PyQt5 로 만든 예제] |
이미지를 미리 학습된 Predict Model에 넣고 마우스로 클릭하면 위와 같이 Segment 됩니다.
(별표시가 마우스 클릭한 좌표)
자세한 내용은 Meta Git Link 를 참조바라며, 아래는 Meta의 Model Diagram 소개자료입니다.

|
|
[ 이미지 출처 : Meta ] |
Meta에서 제공하는 Git 예제를 공부 중 코드에서 이미지 좌표를 키보드로
일일이 입력하니 좀 불편하고, 다양한 이미지에서 시도해 보고 싶은 마음이
듭니다.
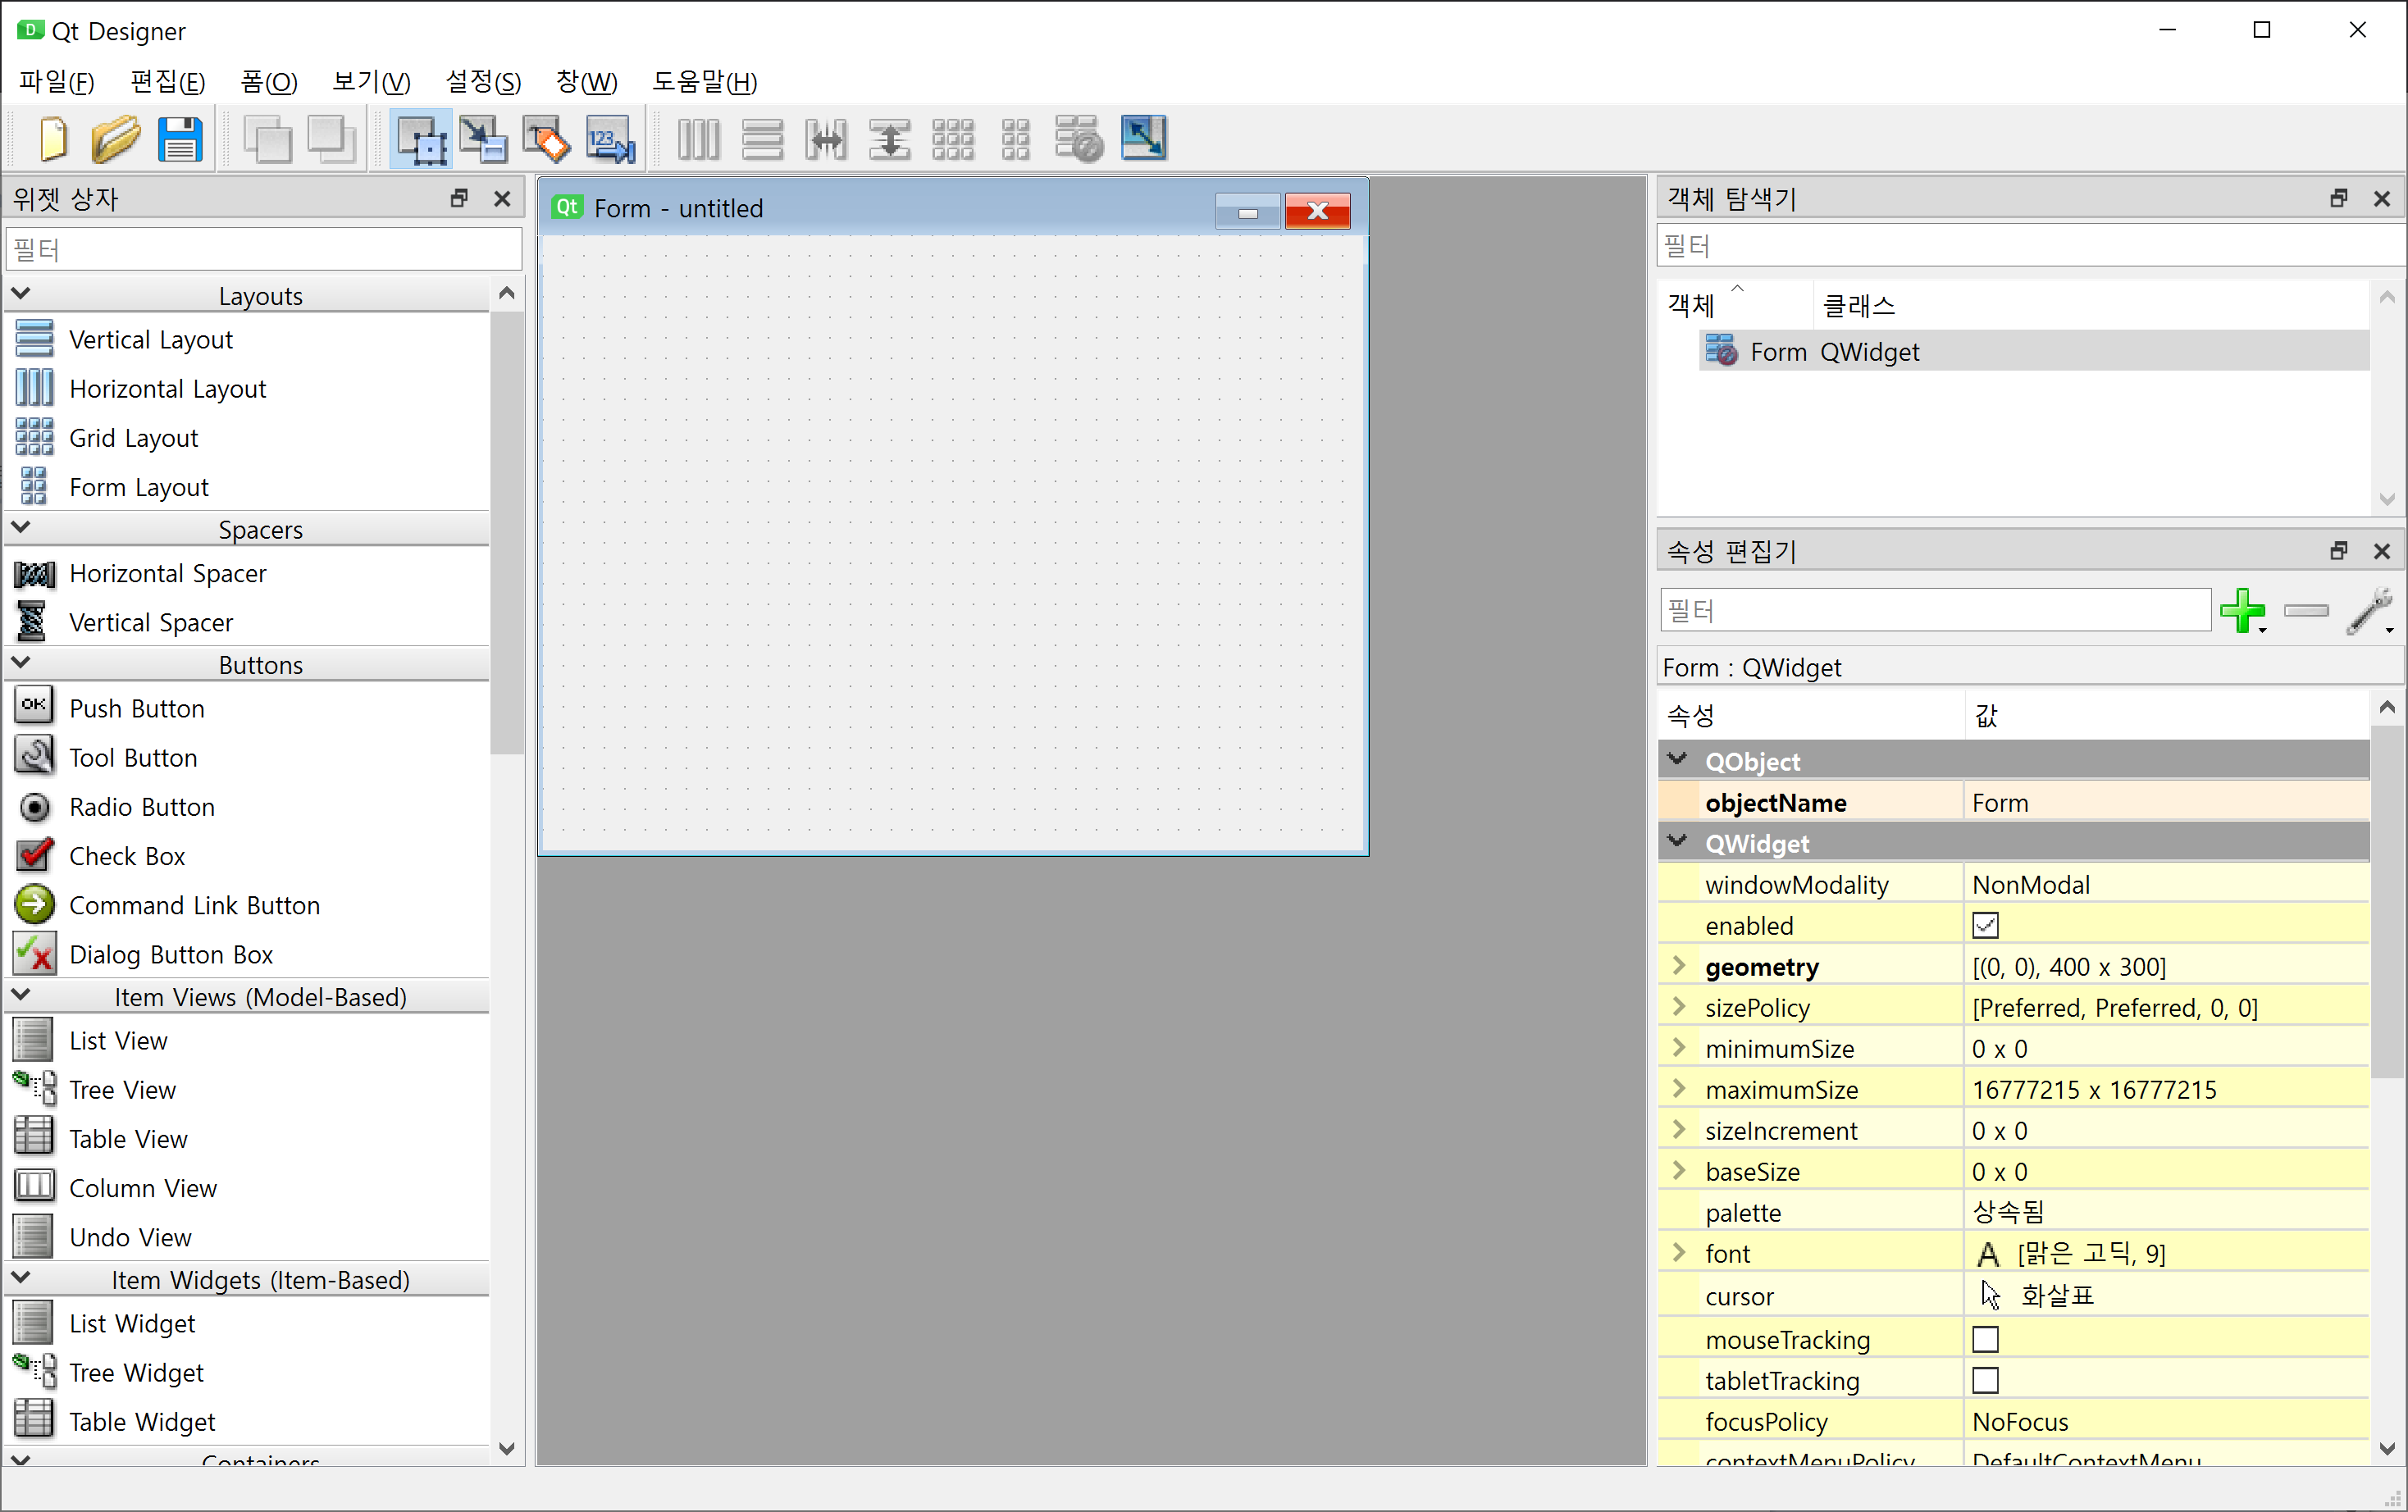
그래서 PyQt5를 이용해 GUI로 활용가능하도록 코드를 작성해 보았습니다.
목록으로 정리해 보자면 Meta의 Sample 에서 아래의 편리성을 추가하였습니다.
1. QFileDialog 를 이용, 다양한 이미지 선택 가능
2. Python Thread를 이용, 대용량 학습데이터 미리 로딩, 시간단축
3. 마우스 좌클릭을 이용, 클릭한 좌표에 대한 Multiple Segment 가능
4. 마우스 우클릭을 통해 Segment 초기화
개발환경
-
Windows 11 Pro, Visual Studio 2022
-
Python 3.9 64bit
-
Matplotlib 3.6.2, opencv-python 4.6.0.66
-
PyTorch 1.8.1+cu101 (Cuda 10.1)
-
segment-anything 1.0
소스코드
2개의 파이썬 파일로 구성 (Meta_GUI.py, Meta_Func.py)
Meta_GUI.py 는 PyQt5로 만든 GUI 위젯.
Meta_Func.py 는 Meta Sample Code의 Function 집합.
Meta_GUI.py
시작파일이며, QWidget에서 상속받은 Window Class로 구현
from PyQt5.QtWidgets import QApplication, QWidget, QVBoxLayout, QPushButton, QFileDialog

from matplotlib.backend_bases import MouseButton
from matplotlib.backends.backend_qt5agg import FigureCanvasQTAgg
import matplotlib.pyplot as plt

from threading import Thread
import time

import cv2
import sys
import numpy as np
sys.path.append("..")
from segment_anything import sam_model_registry, SamPredictor
from Meta_Func import show_mask, show_points, show_box

class Window(QWidget):

    def __init__(self):
        super().__init__()
        self.resize(1200,800)
        self.setWindowTitle('Ocean Coding School')

        self.run = True
        self.mx = 0
        self.my = 0
        self.LeftClick = False
        self.RightClick = False

        vbox = QVBoxLayout()

        self.pb = QPushButton('이미지 열기', self)
        vbox.addWidget(self.pb)

        self.fig = plt.Figure()
        self.canvas = FigureCanvasQTAgg(self.fig)
        vbox.addWidget(self.canvas)

        self.setLayout(vbox)

        self.pb.clicked.connect(self.onImgOpen)
        self.canvas.mpl_connect('motion_notify_event', self.onMouseMove)
        self.canvas.mpl_connect('button_press_event', self.onMouseClick)

        self.pb.setEnabled(False)
        self.t1 = Thread(target=self.createPredictor)
        self.t1.start()

    def createPredictor(self):
        sam_checkpoint = "d:/ML_Dataset/sam_vit_h_4b8939.pth"
        model_type = "vit_h"

        # Check cuda abailable in torch
        import torch
        isCuda = torch.cuda.is_available()
        print('Cuda is available : ', isCuda)

        if isCuda:
            device = 'cuda'
        else:
            device = 'cpu'

        sam = sam_model_registry[model_type](checkpoint=sam_checkpoint)
        sam.to(device=device)

        self.predictor = SamPredictor(sam)
        self.pb.setEnabled(True)

    def onImgOpen(self):
        self.run = False
        path = QFileDialog.getOpenFileName(self, '', '', 'Image Files(*.jpg *.png)')
        if path[0]:

        	image = cv2.imread(path[0])
        	image = cv2.cvtColor(image, cv2.COLOR_BGR2RGB)

        	self.fig.clear()
        	ax = self.fig.subplots()
        	ax.imshow(image)
        	self.canvas.draw()

        	# create thread
        	self.run = True
        	self.t2 = Thread(target=self.threadFunc, args=(image,ax))
        	self.t2.start()

    def onMouseMove(self, e):
        self.mx = e.xdata
        self.my = e.ydata
        #print('X:', e.x)
        #print('Y:', e.y)

    def onMouseClick(self, e):
        if e.button is MouseButton.LEFT:
            self.mx = e.xdata
            self.my = e.ydata
            print(e.xdata, e.ydata)
            self.LeftClick = True
        elif e.button is MouseButton.RIGHT:
            self.RightClick = True

    def closeEvent(self, e):
        self.run = False

    def threadFunc(self, image, ax):
        pd = self.predictor
        pd.set_image(image)

        while self.run:
            if self.RightClick:
                pd.reset_image()
                pd.set_image(image)
                ax.clear()
                ax.imshow(image)
                self.canvas.draw()
                self.RightClick = False


            if self.LeftClick:
                input_point = np.array([[self.mx, self.my]])
                input_label = np.array([1])

                masks, scores, logits = pd.predict(
                point_coords=input_point,
                point_labels=input_label,
                multimask_output=False,
                )

                #self.fig.clear()

                for i, (mask, score) in enumerate(zip(masks, scores)):
                    show_mask(mask, ax)
                    show_points(input_point, input_label, ax)

                    self.fig.suptitle(f"Mask {i+1}, Score: {score:.3f}", fontsize=12)
                    #ax.axis('off')

                self.canvas.draw()
                self.LeftClick=False

            print('thread working...')
            time.sleep(0.1)


if __name__ == '__main__':
    app = QApplication(sys.argv)
    w = Window()
    w.show()
    sys.exit(app.exec_())
Meta_Func.py
Meta 예제의 함수들을 정리한 파일.
import numpy as np
import matplotlib.pyplot as plt

def show_mask(mask, ax, random_color=False):
    if random_color:
        color = np.concatenate([np.random.random(3), np.array([0.6])], axis=0)
    else:
        color = np.array([30/255, 144/255, 255/255, 0.6])
    h, w = mask.shape[-2:]
    mask_image = mask.reshape(h, w, 1) * color.reshape(1, 1, -1)
    ax.imshow(mask_image)

def show_points(coords, labels, ax, marker_size=375):
    pos_points = coords[labels==1]
    neg_points = coords[labels==0]
    ax.scatter(pos_points[:, 0], pos_points[:, 1], color='green', marker='*', s=marker_size, edgecolor='white', linewidth=1.25)
    ax.scatter(neg_points[:, 0], neg_points[:, 1], color='red', marker='*', s=marker_size, edgecolor='white', linewidth=1.25)

def show_box(box, ax):
    x0, y0 = box[0], box[1]
    w, h = box[2] - box[0], box[3] - box[1]
    ax.add_patch(plt.Rectangle((x0, y0), w, h, edgecolor='green', facecolor=(0,0,0,0), lw=2))
유의사항
1. PyTorch GPU 지원 관련
Meta_GUI.py 53번 라인에서 PyTorch의 Cuda.is_available 은 True,
하지만, 제 노트북 기종이 오래되어 안타깝게도 GPU 버전이 지원되지 않네요.

2. Thread 를 2개 사용한 이유
Meta_GUI.py 46번 라인 t1 쓰레드는 SamPredictor 객체 생성시 지연 방지용.
Meta_GUI.py 84번 라인 t2 쓰레드는 Segment 된 이미지 Update 용도.
107번 라인의 predictor 에 set_image 함수가 긴 지연(약
30초이상)을 유발.
따라서 t2쓰레드의 predictor 가 동작하는 시점은 console에 'thread working...' 이 찍히고 나서 가능.
3. 미리 학습된 모델 다운로드
Meta_GUI.py 50번 라인 "ML_Dataset/sam_vit_h_4b8939.pth" 는 위에 Meta Git Link 에서 다운로드 후 여러분의 Local 경로로 설정.

감사합니다.

댓글
댓글 쓰기